


Your Guide to Effective Edmonton Irrigation System Troubleshooting
Edmonton irrigation system troubleshooting can feel overwhelming when your lawn shows brown patches or your water bill suddenly spikes. Monitoring water usage regularly can help you catch hidden leaks early (Monarch Landscape). With a few simple checks—your water meter, sprinkler heads, pressure gauge, and controller—you can pinpoint common issues and keep your yard green. If you’d rather leave the inspection to the pros, see our Irrigation System Maintenance & Repair in Edmonton.
Key takeaway: Early detection and basic troubleshooting can save water, time, and money—no advanced tools required.
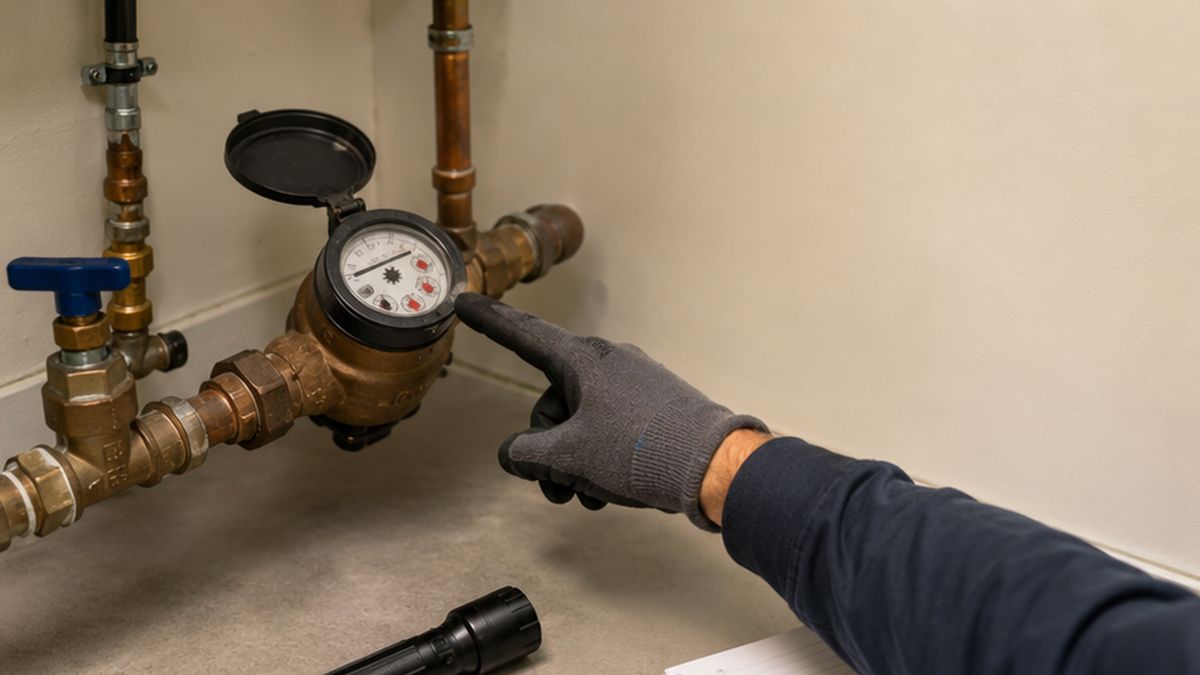
Irrigation system Maintenance, Service & Repair in Edmonton includes checking the water meter for hidden leaks during Irrigation System Troubleshooting.
Monitor water usage
Tracking your water consumption is the first step in system troubleshooting. Your City of Edmonton water bill arrives monthly. A sudden jump often signals a leak somewhere in your irrigation lines.
A few methods to spot abnormal usage:
- Check your monthly bill for unexplained spikes (Monarch Landscape).
- Note days you didn’t run sprinklers yet saw higher usage.
- Compare the current bill to the same month last year.
Use the water meter test
Your meter usually has a small red or black dial, sometimes called a leak indicator. To test:
- Shut off all water fixtures and irrigation zones.
- Watch the dial for 5–10 minutes.
- If it moves, you likely have a leak in the irrigation system.
For Edmonton homeowners, EPCOR explains how the water meter’s flow indicator can help confirm a hidden leak when all water is turned off—see how to read your water meter.
Good news, this test takes less than 10 minutes and doesn’t cost a penny.
Understand seasonal impacts
Edmonton’s freeze-thaw cycles can crack underground pipes. Early fall tests help you catch winter damage before spring. In summer, Stage 1 watering restrictions often apply when temperatures exceed 25 °C—high usage then may point to hidden leaks rather than lawn thirst. If you’re unsure when restrictions may be in effect, EPCOR outlines when and why water restrictions can be implemented—see Edmonton water restrictions.
Inspect visible leaks
Visual checks often reveal the easiest-to-fix problems. A broken sprinkler head or cracked pipe can leave soggy spots, water bubbles, or muddy patches in your yard.
Look for puddles and wet zones
Walk your property while sprinklers run. Watch for:
- Pools of water after a cycle ends
- Soft or muddy turf along lines
- Water spraying in one direction or not at all
Try a dye test
A dye test can uncover underground leaks or fitted joints that seep:
- Add a few drops of food coloring or a specialized irrigation dye.
- Run the affected zone for 1–2 minutes.
- Watch for colored stains on the surface (Monarch Landscape).
Colored patches mean water is escaping below ground.
Measure soil moisture
A soil moisture probe shows deep moisture levels, helping you differentiate between normal wet spots and actual leaks:
- Probes reading above 35 % over several inches might mean oversaturation.
- Extremely dry areas next to wet spots often point to broken lateral pipes.
Test pressure and flow
Uneven coverage or low water pressure can stem from blockages, broken heads, or design issues. A pressure gauge and flow test help you zero in on the culprit.
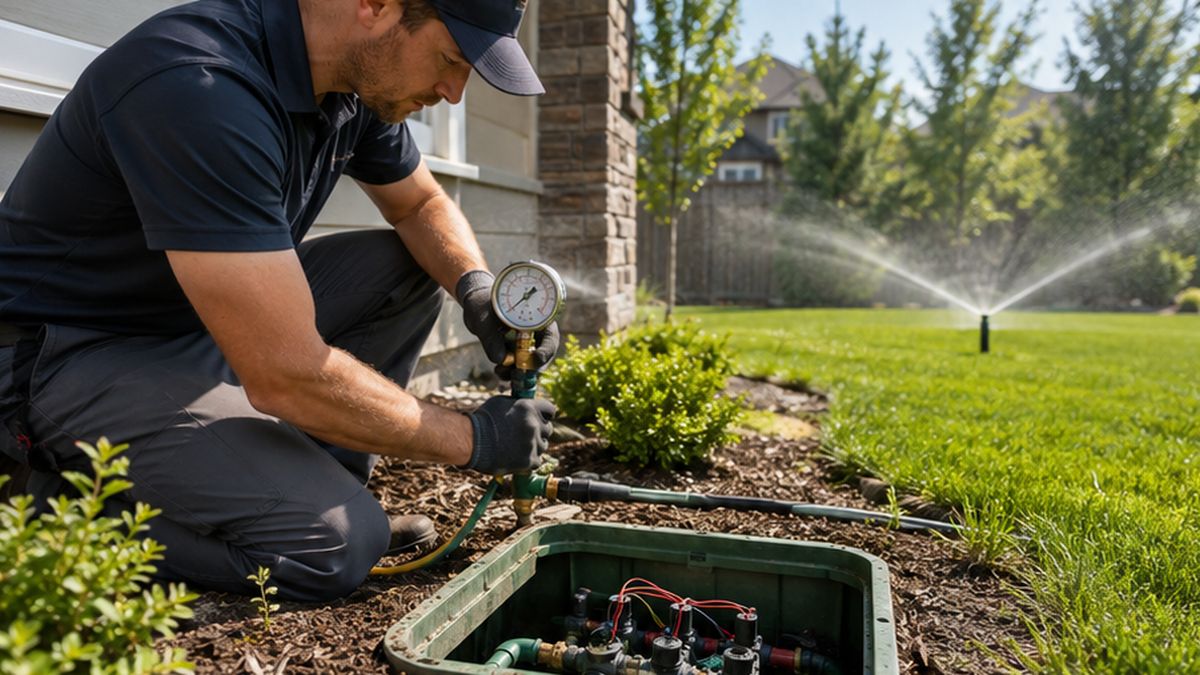
Irrigation system Maintenance, Service & Repair in Edmonton uses pressure testing to identify uneven flow during Irrigation System Troubleshooting.
Identify low-pressure zones
Install a pressure gauge at a hose bib near your main irrigation line. Ideal operating pressure for most sprinkler heads is 30–50 psi.
- Below 30 psi often leads to streaming instead of spray (RainMaster Lawn Systems).
- Above 60 psi can damage heads or cause misting and evaporation.
Clear clogs and adjust heads
Sediment, calcium deposits, and insects can clog nozzles:
- Remove the head’s cap and clean the filter screen.
- Soak nozzles in vinegar or a mild descaler if clogged.
- Reinstall and test spray pattern—adjust height and angle for uniform coverage.
Common pressure and flow issues
| Symptom | Possible cause | Quick fix |
|---|---|---|
| Low spray distance | Partially closed valve or clog | Open valve fully, clean filter screen |
| Overspray/misting | Excessive pressure | Install pressure regulator |
| One zone not activating | Broken solenoid or wiring fault | Test solenoid, replace if voltage is low |
Troubleshoot controllers and valves
Your irrigation controller, valves, and solenoids form the system’s brain and nervous system. Faults here can stop watering entirely or keep zones running nonstop.
Inspect the irrigation controller
Controllers fail for a few common reasons:
- Faulty power supply or tripped breaker
- Incorrect programming or clock setting
- Water damage or corrosion inside the unit
Check the power light first. If the display is blank, verify the breaker and power source. Consult your manual before reprogramming.
Test solenoids and valves
Valves use solenoids to open and close each zone:
- Manually activate a valve by turning its bleed screw or test lever.
- If water flows, the solenoid may be bad—listen for a humming sound when the controller calls that zone.
- Replace failed solenoids (Ground Source) or tighten loose fittings around the valve body.
Address wiring and diaphragm issues
Electrical faults often show up when multiple zones fail:
- Inspect low-voltage wires for corrosion or rodent damage.
- Check valve diaphragms for tears (these can cause pulsating flow or leaks around the zone valve).
- Replace any damaged wire or diaphragm promptly to restore reliable operation.
Wrap up and next steps
- Review your monthly water bills and run the meter test.
- Walk each zone with sprinklers on, watching for puddles, wet spots, or suctioning soil.
- Use a pressure gauge and flow table to tune heads and valves.
- Inspect controllers, solenoids, and wiring for obvious faults.
Once you’ve tried these steps, you’ll know which fixes you can handle yourself and which ones need a pro. For seasonal care, read our Edmonton irrigation system winterization guide. For routine tune-ups and check-ins, explore Edmonton irrigation system maintenance. If you’d rather schedule expert service, see our professional irrigation system maintenance in Edmonton or our affordable irrigation system repair in Edmonton.
Need Irrigation system Maintenance, Service & Repair in Edmonton? Call now or Book Online.
Good news, a little attention now means fewer surprises and healthier turf from Whyte Avenue to West Edmonton Mall.
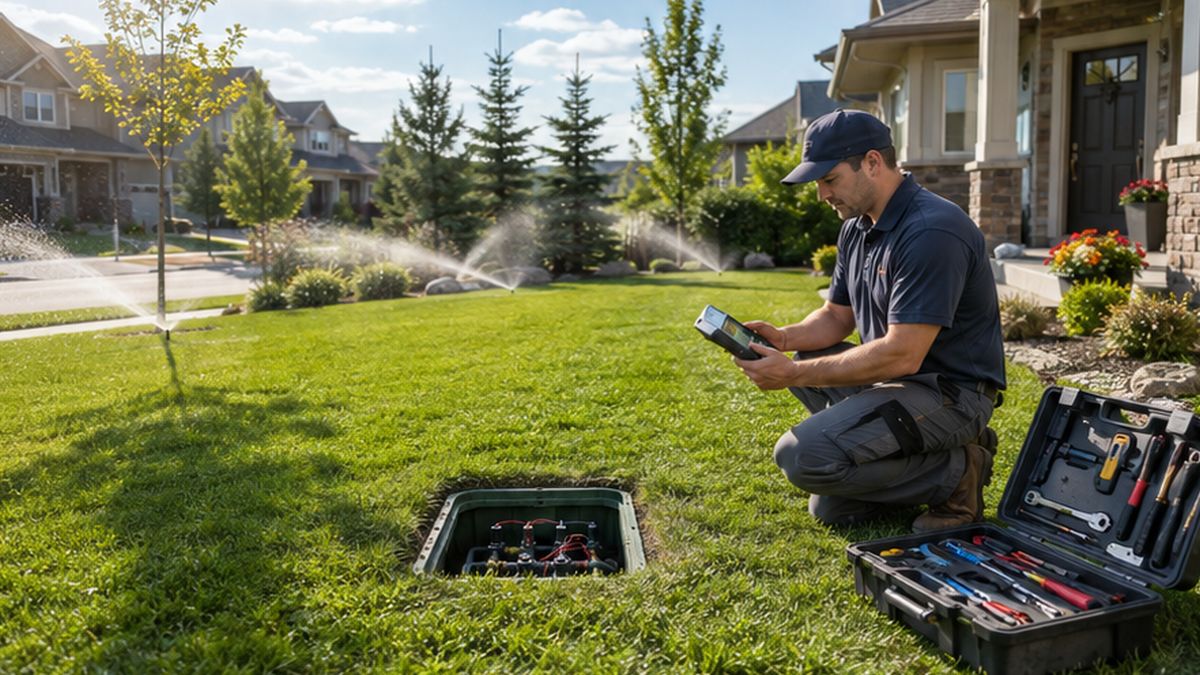
Irrigation system Maintenance, Service & Repair in Edmonton delivers even sprinkler coverage after successful Irrigation System Troubleshooting.
More Edmonton irrigation resources
- Affordable solutions for irrigation repairs
- Professional care for your irrigation system
- Protect your irrigation system before winter
- Essential irrigation maintenance for Edmonton yards
- Solve common irrigation system issues
Frequently asked questions
Q1: Why won’t one irrigation zone turn on?
A faulty solenoid, a broken valve diaphragm, or damaged low-voltage wiring often prevents a single zone from activating. Test the valve manually, then inspect wiring and solenoids (The Spruce).
Q2: What causes my water bill to rise suddenly?
Hidden leaks in pipes, fittings, or heads can boost water use by up to 15 % (Monarch Landscape). A sudden spike is your cue to run the meter test immediately.
Q3: When should I winterize my sprinkler system?
Plan to winterize in late September or early October before the first freeze. See our Edmonton irrigation system winterization guide for step-by-step instructions.
Q4: How often should I replace sprinkler heads?
Most heads last 5–7 years, depending on wear from foot traffic, mowers, and hard water. Inspect heads each spring and swap any that spray unevenly.
Q5: Is professional service worth the cost?
Professional maintenance can prevent major repairs and conserve water. Our skilled team spots hidden issues early, saving you time, water, and money over the system’s life.
Share This Story, Choose Your Platform!
About the Author: Brett Kingstree

Related Posts