


Mastering Edmonton Irrigation System Design for Your Home
When tackling edmonton irrigation system design for your home, you’re investing in both curb appeal and water efficiency. Good news, it’s easier than it sounds. According to the Organic Agriculture Centre, precision irrigation can cut water waste by up to 60% compared to traditional methods. In Edmonton’s mixed turf-and-garden landscapes, a well-designed system helps you maintain lush lawns while keeping your meter happy. At Kingstree Plumbing, we specialize in irrigation system design and installation in Edmonton properties. In this guide, you’ll learn how to assess your yard, choose sprinklers, plan valves and piping, and partner with local experts to bring your project to life.
In one sentence, a thoughtful irrigation layout gives you uniform coverage, lower bills, and fewer maintenance headaches.

Irrigation system Design & Installation begins with an Edmonton property assessment. This Irrigation System Design scene shows yard measurement and feature mapping.
Assess site conditions
Every successful design starts with a clear picture of your property. Before digging, take time to map key features and environmental factors.
For a step-by-step checklist before trenching, review our Edmonton irrigation system planning guide.
Map property features
Begin with a measured sketch of your lot, including your house footprint, driveways, patios, sidewalks, fences, trees, shrubs, and lawn areas. Mark concrete or brick walkways so you know where not to trench. A site map helps you position heads for even coverage and avoids surprises during installation (Sprinkler Company Inc.).
Evaluate soil and slope
Edmonton soils range from sandy loam to heavy clay, and each affects water absorption. Clay holds moisture but can lead to runoff on slopes, while sandy soils drain quickly and may need more frequent watering. Walk your yard after a rain—ponding spots suggest compaction, and bare patches may point to poor drainage. Adjust head type and spacing to match these conditions.
Consider seasonal concerns
Edmonton winters can dip below –30 °C and bring frost by October. Before setting run times, check current EPCOR Edmonton water restrictions so your schedule matches local guidance. Plan to install and test your system during the frost-free window (late May to early September). Ensure your design allows for complete winterization (blow-out or drain-down) and that lines are buried below the local frost depth to prevent freeze damage.
Choose sprinkler types
Matching sprinkler heads to each zone’s needs boosts efficiency and plant health. Mixing incompatible types can cause uneven coverage and wasted water.
Large-area rotors
Rotors shoot streams of water in arcs and rotate to cover wide swaths—ideal for open turf. They deliver water slowly, which helps reduce runoff. Avoid pairing rotors with fixed sprays in the same zone; they run at different flow rates and can cause pressure issues (Sprinkler Company Inc.).
Small-area spray heads
Fixed spray nozzles disperse water in a set pattern (square, circle, or rectangle) up to 15 feet. Use these for narrow strips, flower beds, or under low tree canopies. They deliver water faster than rotors, so group them on their own zones to maintain consistent pressure.
Drip irrigation systems
For garden beds, shrubs, and planters, drip lines or emitters deliver water directly at the root zone. This method can reduce water waste by up to 60% compared to overhead sprinklers (Organic Agriculture Centre). Many systems are smartphone-compatible, letting you fine-tune run times and monitor soil moisture without walking the garden.
Plan valves and piping
After you’ve chosen heads, zone them logically and lay out the backbone of your system: valves and pipes.
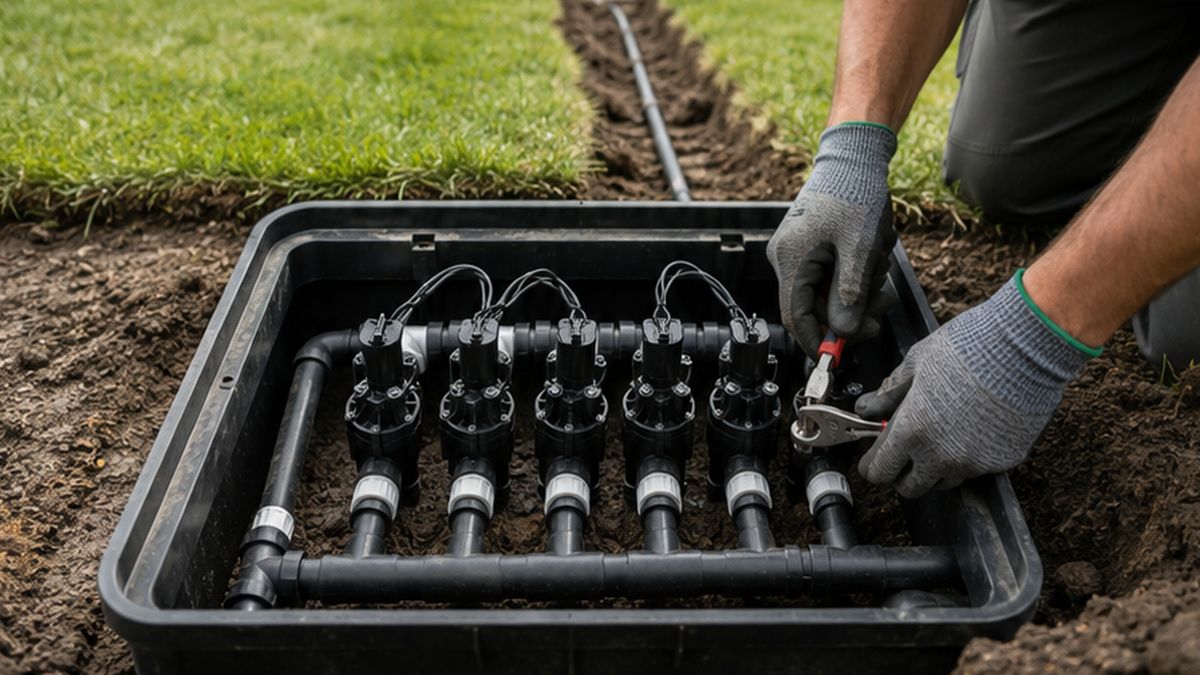
This Edmonton close-up shows Irrigation system Design & Installation at a multi-zone valve manifold. The Irrigation System Design supports accessible servicing.
Zone valves and manifolds
Each irrigation zone needs its own control valve. Group valves in a manifold assembly, ideally in an accessible but sheltered spot (garage, service pit, or heated box). That setup makes winter blow-out, repairs, and seasonal adjustments quick and tidy.
Pipe materials and sizing
Most residential systems use polyvinyl chloride (PVC) or polyethylene (poly) pipe. PVC holds up well under pressure, while poly offers flexibility and easier trenching. Local contractors can advise on the best choice for your soil and water quality. Be sure to select products tested to CSA Group plumbing standards for durability and safety (CSA Group).
Installation accessibility
Label your zones clearly at the manifold and leave 6–12 inches of clearance around valves for service. Trench lines at a depth below frost level—confirm local code or ask your contractor. Keep pipe runs as direct as possible to minimize friction loss and maintain even pressure across heads.
Partner with irrigation experts
Even the best DIY plans benefit from a pro’s touch. Local knowledge and experience can save you time and money—and help you avoid costly mistakes.
Finding local contractors
Look for licensed edmonton irrigation system contractors with homeowner references and examples of recent installations. Ask about warranty, insurance, and how they handle permit requirements. A reputable contractor will walk you through design options and show you past job photos.
Working with professionals
Consulting edmonton irrigation system experts gives you access to soil tests, flow-rate measurements, and CAD-precise layouts. Professionals handle equipment procurement, trenching, valve wiring, and pressure testing. They also coordinate electrical or plumbing inspections if needed.
Ongoing maintenance tips
A well-tuned system needs seasonal attention. Before winter, drain lines or use compressed air to avoid freeze damage. In spring, check filters, backflow preventers, and nozzles for debris. Backflow devices are designed to protect potable water systems—see the CSA B64 backflow preventer standards overview for background. For a full maintenance plan, see irrigation system maintenance edmonton. Regular upkeep prevents failures and keeps water bills low.
Explore more irrigation guides
- How Edmonton Irrigation Experts Solve System Issues
- Budget-Friendly Irrigation Contractors in Edmonton
- Improve Your Home Irrigation Design
- Plan Your Irrigation System Without Costly Errors
- Prevent Expensive Irrigation Maintenance Problems
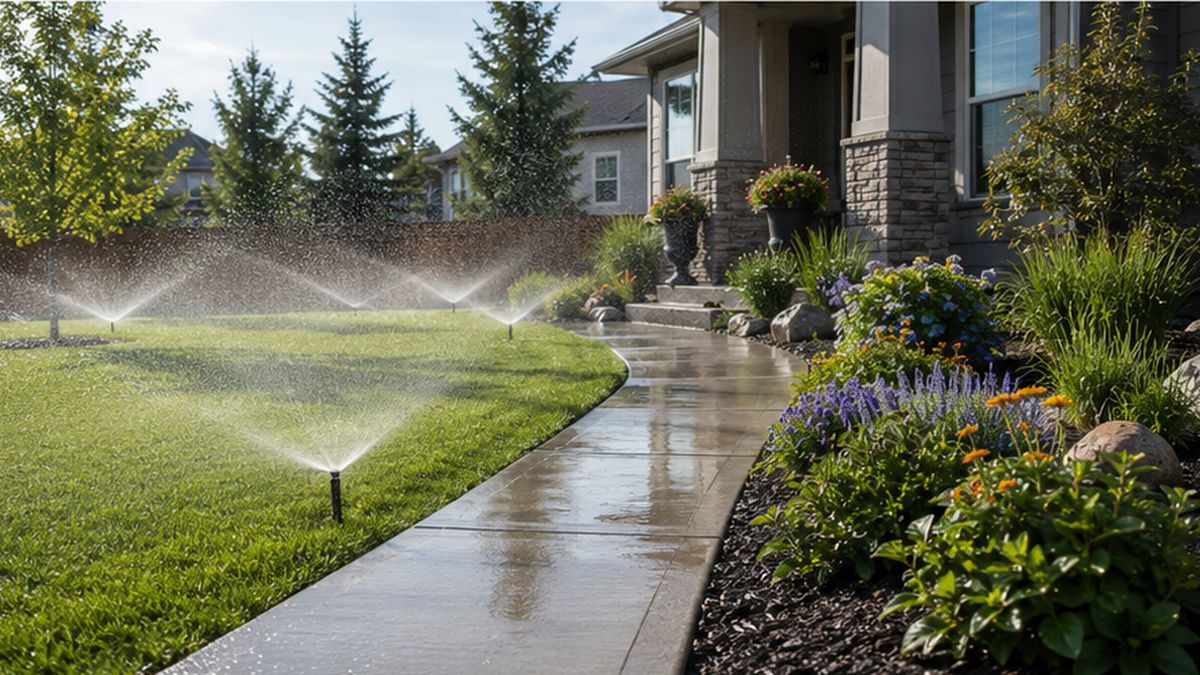
Completed Irrigation system Design & Installation keeps this Edmonton yard evenly watered. The Irrigation System Design delivers a clean, efficient result.
Recap and next steps
- Assess site conditions, sketching trees, slopes, and hardscape.
- Choose the right heads—rotors for turf, sprays for small areas, drip for beds.
- Plan zones with individual valves in an accessible manifold.
- Select durable pipes sized for flow and buried below frost.
- Partner with local professionals for design, installation, and permits.
Need Irrigation System Design & Installation in Edmonton? Call now or Book Online.
Common irrigation questions
How deep should irrigation pipes be buried in Edmonton?
Lines should sit below the local frost depth. Depth varies by location, so confirm with your contractor or municipality before trenching.
Can I mix rotor and spray heads on the same zone?
No. Rotors and fixed sprays operate at different flow rates. Group similar heads on one zone for consistent pressure and coverage.
What maintenance does a residential system need?
Seasonal tasks include winter blow-outs, spring start-up checks for filters and valves, and summer nozzle cleaning. A pro tune-up once a year helps you catch leaks early.
How much does a typical system cost?
Costs depend on yard size, number of zones, and head types. A basic three-zone install often runs $2,500–$5,000, while larger properties with drip lines and smart controls can reach $10,000 or more.
When is the best time to install?
Aim for late spring through early summer once the ground thaws and before peak summer heat. Early installation ensures you catch the full growing season and spot any issues before winter.
Share This Story, Choose Your Platform!
About the Author: Brett Kingstree

Related Posts